Photography is a medium that has captured the attention and imagination of people all around the world for well over a century. As when you plan to start photography, you should prepare yourself before jumps in.
There are several areas you should learn while during your journey from novice to professional in photography. But in this blog article we cover 6 things beginners photographer should know before start. So please be seated and enjoy this article.
As a beginner photographer, it is really hard to navigate in the world of photography. You will get plenty of options for cameras, lenses, techniques. It may be difficult for beginner photographers to start. So here are 6 things a beginner photographer should know to get started on this photography journey.
Things to know for Beginner Photographer:
1. Know Your Camera
You may think this point is very basic for me. In this new world of camera technology with simplistic UI design and approach every aspect is clear to take photographs from my camera. But wait, knowing your camera may sound simple but you to invest your time to explore all camera’s basic functions like shutter speed, aperture, ISO, color balance.
In today’s camera market, even budget DSLR came with a lot of functionality and features. You can explore all those features by spending time reading the manual and learn how to use the different settings and features. Give your 100% for learning the camera functionality, features, in and out, performance under different condition etc. This will really help you get the most out of your camera and take better photos.
2. Start With the Right Gear
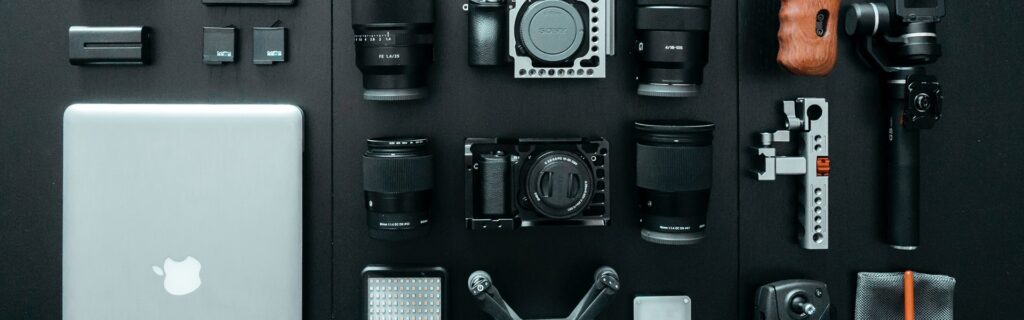
Now once you know your camera, the next step is to check out the right gear you need for the photography such as the basis of your photography need.
Here are some of the items listed for beginner photographers to do research for their needs.
The lens you use is just as important as the camera itself. Different lenses have different focal lengths, which determine the angle of view and the perspective of your photos. For beginners, a standard zoom lens is a great place to start. These lenses typically cover a range of focal lengths and are versatile for a variety of shooting situations.
But if you want to be more specific with your photography categories, then here are some options you should consider:
- Standard Lens: A standard lens, also known as a normal lens, has a focal length of around 50mm and provides a field of view that is similar to what the human eye sees. These lenses are versatile and can be used for a wide range of photographic genres, from portraits to landscapes.
- Wide-Angle Lens: A wide-angle lens has a focal length of less than 35mm and provides a wider field of view than a standard lens. These lenses are ideal for landscape photography, architecture, and capturing images in tight spaces.
- Telephoto Lens: A telephoto lens has a focal length of 70mm or more and is designed to bring distant objects closer. These lenses are ideal for wildlife, sports, and portrait photography, as they allow you to capture sharp, detailed images from a distance.
- Macro Lens: A macro lens is designed for close-up photography and allows you to capture fine details of subjects such as flowers, insects, and other small objects.
- Zoom Lens: A zoom lens allows you to adjust the focal length to zoom in or out, providing more flexibility in the composition. These lenses can be a good all-around option for a variety of photographic genres.
If you are an expert or a beginner, a tripod can be an essential tool for you. It will help you to stabilize and support for your camera to capture sharp and steady images.
Here are some types of tripods you should consider:
- Compact Tripods: These are lightweight and portable, making them ideal for travel and outdoor photography. They usually have a lower maximum load capacity and may not be suitable for heavier camera setups.
- Standard Tripods: These are the most common type of tripod and come in a range of sizes and materials. They usually have a higher maximum load capacity and are more stable than compact tripods.
- Tripod Heads: Tripod heads attach to the top of the tripod and hold the camera. There are two main types of tripod heads: ball heads and pan-and-tilt heads. Ball heads provide more freedom of movement and are ideal for shooting from a range of angles. Pan-and-tilt authorities provide more precise control over the camera's position and are ideal for shooting in one direction.
- Monopods: These are single-legged support that is ideal for on-the-go photography. They provide some stability but not as much as a tripod.
So when choosing a tripod, consider the weight and size of your camera setup, as well as the types of photography you will be doing. Look for a tripod with a weight capacity that can support your camera and lens. Consider the tripod's height and whether it can be adjusted to your desired shooting position. Also, think about the material and durability of the tripod, as well as the ease of use and portability.
Investing in a good-quality tripod can make a significant difference in the quality of your photos, providing a stable platform for capturing sharp and steady images.
As a beginner photographer, you will need a good camera bag to protect and carry your expensive camera and accessories.
Here are some types of camera bags you should consider:
- Backpacks: Camera backpacks are the most popular type of camera bag for photographers. They usually have a large main compartment for your camera and lenses, as well as additional pockets for accessories and personal items. Backpacks provide good protection for your gear and are comfortable to wear.
- Shoulder Bags: Camera shoulder bags are another popular type of camera bag. They usually have a single strap and can be worn over one shoulder. Shoulder bags provide quick and easy access to your camera and accessories, but may not be as comfortable to wear for extended periods.
- Sling Bags: Camera sling bags are a hybrid between backpacks and shoulder bags. They have a single strap that can be worn across your body and provide quick access to your camera and accessories. Sling bags are ideal for photographers who want a balance of comfort and convenience.
- Rolling Bags: Camera rolling bags are ideal for photographers who need to carry a lot of gear. They usually have wheels and a retractable handle, making them easy to transport. Rolling bags can be bulky and heavy, but they provide excellent protection for your gear.
Investing in a good quality camera bag can make a significant difference in the safety and security of your camera and accessories, allowing you to focus on capturing great photos.
Look for a bag that provides good protection for your gear and has enough space for your current and future equipment. Consider the comfort and convenience of the bag, as well as its durability and weather resistance.
A memory card is a crucial component of any camera, as it stores the photos you take. As a beginner photographer, you may not know the importance of choosing the right memory card, but it can make a significant difference in your photography experience.
Check the below factor when choosing a memory card:
- Capacity: Memory cards come in different capacities, such as 16GB, 32GB, 64GB, and so on. The capacity you choose will depend on the size of your camera's image files and how many photos you plan to take. If you shoot in RAW format, you will need a larger capacity memory card.
- Speed: Memory cards have different read and write speeds, which affect how quickly your camera can save photos to the card. A faster card can help reduce the time it takes for your camera to write photos to the card, allowing you to take more shots in rapid succession. Look for memory cards with a speed class rating of at least Class 10.
- Brand: Choose a well-known brand of memory card to ensure compatibility with your camera and avoid the risk of data loss. Popular brands include SanDisk, Lexar, and Kingston.
- Type: There are different types of memory cards, such as SD, microSD, and CF (CompactFlash). Make sure to choose a memory card that is compatible with your camera's memory card slot.
- Backup: It's important to back up your photos to prevent data loss in case of memory card failure. You can do this by transferring your photos to your computer or an external hard drive. Consider investing in a memory card reader to make the transfer process easier and faster.
When choosing a memory card, consider the capacity, speed, brand, type, and backup options. Investing in a high-quality memory card can help ensure the safety and security of your photos, allowing you to focus on capturing great shots.
Proper maintenance and care of your camera equipment can help extend its lifespan and ensure the best possible image quality. Investing in a cleaning kit is an essential step for any beginner photographer.
Here are some tips on what to include in your camera cleaning kit:
- Lens cleaning solution: A high-quality lens cleaning solution can help remove dirt, smudges, and fingerprints from your camera lens. Avoid using household cleaning products, as they can damage the lens coatings.
- Microfiber cloth: A microfiber cloth is a gentle, non-abrasive way to clean your camera lens and other delicate surfaces. Avoid using regular clothes, which can leave scratches or lint on the lens.
- Air blower: An air blower is a useful tool for removing dust and debris from the camera body, lens, and other components. It's a safer and more effective method than using a cloth, which can cause scratches or damage.
- Sensor cleaning kit: Over time, dust and debris can accumulate on the camera's sensor, causing spots or blemishes in your photos. A sensor cleaning kit can help you safely remove these particles, improving the quality of your images.
- Lens brush: A soft-bristled lens brush can help remove loose debris from the camera lens and other components. It's an easy and effective way to prevent dirt and dust from accumulating.
Investing in a camera cleaning kit can help you maintain your equipment and ensure the best possible image quality. Regular cleaning can also help prevent damage or malfunction due to dirt, debris, or other contaminants.
Make sure to follow the manufacturer's instructions for cleaning and care, and don't hesitate to seek professional help if you're unsure about a specific cleaning task.
When you're out taking photos, the last thing you want is for your camera to run out of battery power. To avoid this, it's always a good idea to carry extra batteries with you. Here are some tips to help you choose the right battery and ensure that you have enough power to last throughout your photography session:
- Check your camera's battery type: Before purchasing extra batteries, make sure you know the type of battery your camera uses. Some cameras require proprietary batteries, while others can use standard AA batteries.
- Buy the right battery: Once you know your camera's battery type, make sure to buy high-quality, compatible batteries from a reputable manufacturer. Avoid buying cheap or off-brand batteries, as they may not last as long or could even damage your camera.
- Charge your batteries fully: Make sure to charge your batteries fully before heading out to take photos. Carry a portable battery charger or use the charger that came with your camera to ensure you have a full charge.
- Carry spare batteries: Bring at least one spare battery with you, and consider carrying additional batteries if you plan to take a lot of photos or shoot for an extended period. Keep the batteries in a protective case or bag to prevent damage or short-circuiting.
- Monitor your battery level: Keep an eye on your camera's battery level throughout your photography session, and swap in a fresh battery when needed. Don't wait until your battery is completely drained, as this can damage the battery or cause you to miss a great shot.
Bringing extra batteries with you is an easy and essential way to avoid running out of power during your photography session.
Make sure to invest in high-quality, compatible batteries, and always keep your batteries charged and ready to go. With a little preparation and planning, you can ensure that you have enough power to capture all your best shots.
While a camera is essential for photography, a good computer is just as important. As a beginner photographer, you'll need a computer that can handle photo editing software and store your images.
Here are some tips to help you choose the right computer for your photography needs:
- Choose a computer with adequate specifications: Look for a computer with enough processing power, memory, and storage to handle photo editing software and large image files. At a minimum, you'll need a computer with a multi-core processor, at least 8 GB of RAM, and a solid-state drive (SSD) or hard drive (HDD) with ample storage space.
- Consider a dedicated graphics card: If you plan to work with high-resolution images or edit video, consider a computer with a dedicated graphics card. A dedicated graphics card can improve performance and speed up rendering times.
- Look for a high-quality display: A high-quality display is essential for accurately viewing and editing your photos. Look for a computer with a color-accurate display that can display a wide color gamut and high resolution.
- Choose the right operating system: Most photo editing software is compatible with both Mac and Windows operating systems. Choose the operating system you're most comfortable with and that fits within your budget.
- Invest in external hard drives: To keep your computer running smoothly and to prevent data loss, invest in external hard drives to store your images and back up your data regularly.
A good computer is an essential investment for any beginner photographer. Look for a computer with adequate specifications, a dedicated graphics card, a high-quality display, and the right operating system.
Also, invest in external hard drives to store your images and back up your data regularly. With the right computer and storage solutions, you can ensure that your images are safe and that you have the tools you need to edit and share your best shots.
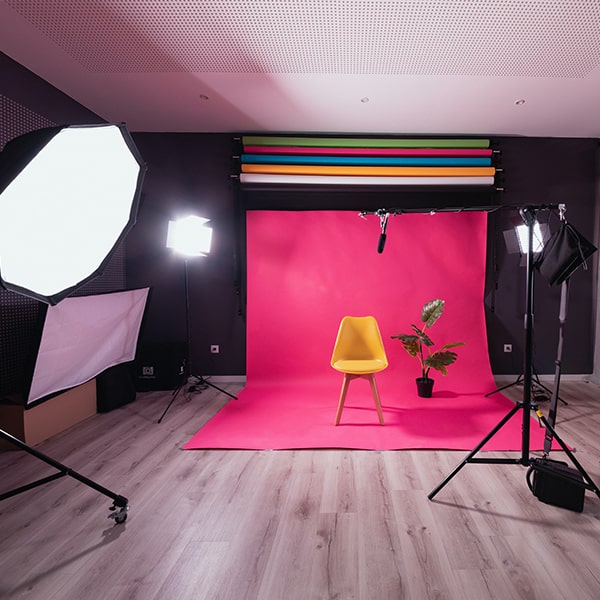
3. Understand Lighting Conditions
Now when you have the lens, next thing you need to learn about the Lighting. Because lighting is one of the most critical factors in photography. Every beginner photographer should know how different lighting conditions can affect your photos and how to work with different types of light can help you capture stunning images.
Listed some common lighting conditions and tips for working with them so that you will get amazing results while taking photos:

Natural Light
Natural light can provide beautiful, soft lighting for portraits and landscapes. Consider the golden hours, which are the hours just after sunrise and just before sunset, can provide warm, glowing light. You need to avoid harsh midday light, which can create harsh shadows and overexposure to your pictures.
Artificial Light
Artificial light, such as indoor lighting, street lights, or flash, can create unique and creative effects. But be aware of the color temperature of the light, which can affect the color balance of your photos.
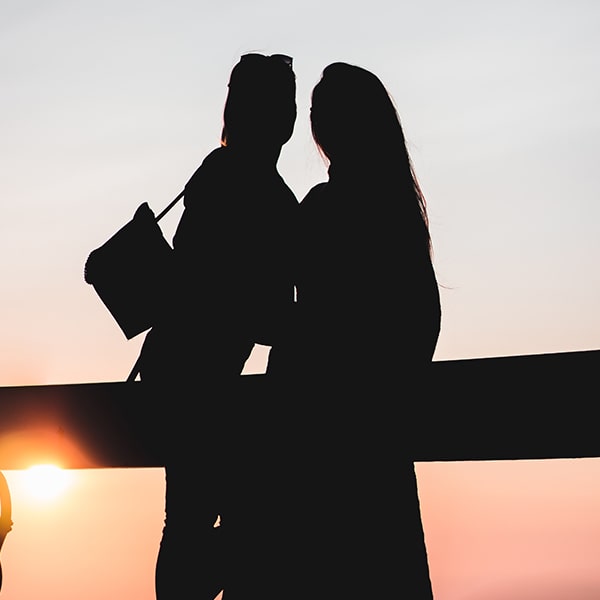
Backlighting
Backlighting occurs when the main source of light is behind your subject. This can create a dramatic effect and create silhouettes. However, it can also result in underexposure, so be sure to adjust your camera settings accordingly.
Side Lighting
Side lighting can create depth and texture in your photos by creating shadows and highlights. It can be especially effective in portrait photography.
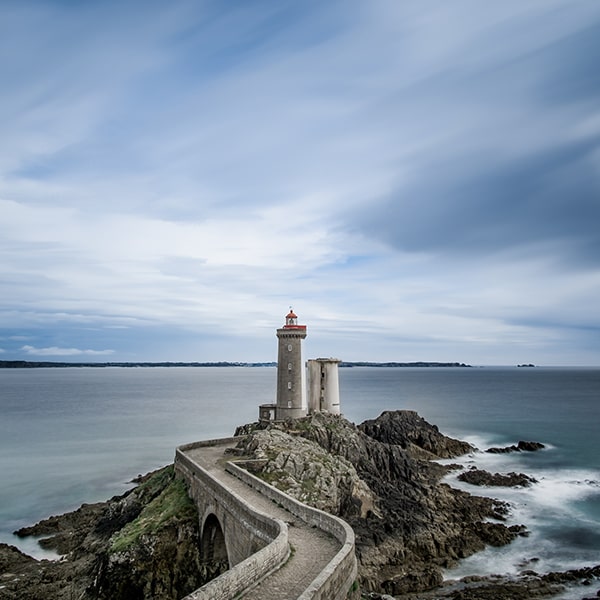
Overcast Light
Overcast light can create soft, even lighting conditions that are ideal for landscape photography. However, it can also result in a flat, dull image. To add depth, try using a polarizing filter.
4. Learn to Shoot in Manual Mode
In nowadays DSLR, it came with prebuilt camera settings so that anyone could take pictures easily. All those automatic and semi-automatic modes on cameras can be helpful for beginner photographer, but learning manual mode gives you control over the camera and open the creative sides of yourself. Here are some steps you can start to do shooting in manual mode:
Understand the Exposure Triangle
First, you need to work on the three elements of the exposure triangle aperture, shutter speed, and ISO. You should learn how they work together to affect exposure which can help you to create the right exposure for your photo.
Choose Your Aperture
As per your requirement, you need to set how much of the photo is in focus. For this, you need to control the Aperture. A wider aperture (lower f-number) can create a shallow depth of field, ideal for portraits or close-up shots. A smaller aperture (higher f-number) can create a greater depth of field, ideal for landscape or architectural photography.
Set Your Shutter Speed
Another factor that you should know about the Shutter speed controls, that means how long the camera’s sensor is exposed to light. A faster shutter speed can freeze motion, while a slower shutter speed can create motion blur. Adjust your shutter speed to match the motion of your subject.
Set Your ISO
As per lighting conditions, you need to adjust your ISO. A lower ISO is ideal for bright lighting conditions like a sunny day, or summer pictures, while a higher ISO is necessary for low-light situations. But here is a catch, while working with higher ISO, you need to adjust Shutter Speed otherwise you will get grainy images. And even if you choose a long time for Shutter, then you will need a tripod to stabilize the image.
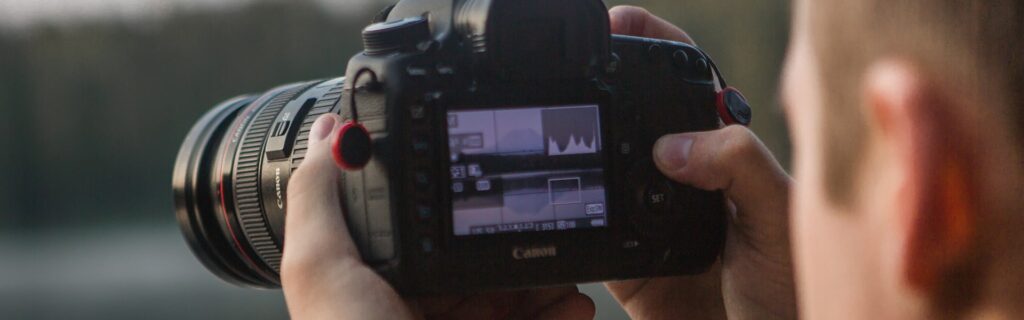
Adjust as Needed
The last point is to take test shots and adjust your settings as needed. Pay attention to the histogram, which can help you avoid overexposure or underexposure.
5. Practice Composition Techniques
For all beginner photographers, you have to work on Composition. So composition refers to how you arrange the elements in your photo to create a pleasing and visually interesting image. A well-composed photo draws the viewer’s eye to the subject and helps convey a mood or message.
There are many composition techniques that you can use to create an impactful image, which include below:
The Rule of Thirds
This is a basic rule of composition that divides your frame into thirds both vertically and horizontally, creating nine equal sections. Placing your subject at one of the four intersection points or along one of the lines can create a more visually pleasing and balanced image.
Leading Lines
Leading lines are lines in the photo that lead the viewer’s eye toward the subject. Examples include roads, fences, and buildings. Use these lines to guide the viewer’s gaze and add depth to your image.
Symmetry
Symmetry refers to the balance and equality of the elements in your photo. Creating a symmetrical image can be visually appealing and create a sense of balance and harmony.
Framing
Using natural or man-made frames around your subject, such as doorways, arches, or trees, can add depth to your image and create a focal point.
Contrast
Contrast refers to the difference between the light and dark areas of your photo. Using contrast can create a dramatic effect and help draw attention to your subject.
These are just a few examples of composition techniques that you can practice to improve your photography. Start by experimenting with these techniques and see how they impact your images. Look for opportunities to use leading lines or symmetry, and pay attention to how they affect the overall composition.
6. Technologies You Should Aware

Till now we talked about how to take pictures but after that, you need to work on the post-production part to better several types of software that are commonly used in photography. Here are some of the most important software tools that every beginner photographer should know about:
Image Editing Software
Image editing software is used to edit and enhance photos. The most popular image editing software is Adobe Photoshop. Other popular options include Adobe Lightroom, GIMP, and Capture One. These programs allow you to adjust exposure, color, and other aspects of your images and can help you achieve the specific look or mood you are going for.
RAW Conversion Software
Raw conversion software is used to convert RAW files from your camera into usable image files. Some popular options include Adobe Camera Raw, Capture One, and Lightroom. These programs allow you to adjust exposure, color balance, and other settings to create a high-quality image.
Photo Management Software
Photo management software is used to organize and manage your photos. Adobe Bridge, Apple Photos, and Google Photos are popular options. These programs allow you to tag, categorize, and sort your images, making it easy to find specific photos or collections.
HDR Software
HDR (High Dynamic Range) software is used to merge multiple exposures of the same scene into a single image with a greater dynamic range. Photomatix Pro, Aurora HDR, and Adobe Photoshop are popular options.
Panorama Software
Panorama software is used to stitch together multiple photos into a single, wide image. Adobe Photoshop and Lightroom have built-in panorama stitching features. Other popular options include Microsoft ICE, PTGui, and Hugin.
Photo Printing Software
Photo printing software is used to prepare your photos for printing. Adobe Lightroom and Photoshop have built-in printing features. Other popular options include Qimage Ultimate and Darktable.
Online Portfolio Platforms
Online portfolio platforms are used to showcase your work online. 500px, Squarespace and Wix are popular options. These platforms allow you to create a professional-looking portfolio website that can help you share your work with a wider audience.
Learning how to use these software tools is an important part of being a successful for every beginner photographer. While it can be overwhelming at first, taking the time to learn and practice with these software programs can greatly enhance the quality of your images and help you achieve your creative vision.
Conclusion
In conclusion, photography can be an incredibly rewarding and enjoyable hobby or profession. As a beginner photographer, it is really important to start with the right gear, learn the fundamentals, practice composition techniques, and improve editing skills in various software. With time and practice, you can develop your skills and create stunning images that you’ll be proud to share with others.
Remember to have fun and keep experimenting with different techniques and styles to find what works best for you.
Free Resources
Here are some few resource for you to get started for beginner photographers.
There are countless photography tutorials and how-to videos available on YouTube. Many professional photographers have channels where they share their expertise, and there are also channels dedicated to specific genres of photography. Here are some popular channels for beginner photographers to get you started:
Another place every beginner photographer should go is online photography blogs. There are many photography blogs that offer tips, tutorials, and inspiration. Some of the most popular photography blogs include:
Photography forums are a great way to connect with other photographers, ask questions, and share your work. Here are some popular forums:
Frequently Asked Questons
Composition, Color, and Content are the three C’s of photography. For images to be compelling and visually appealing, these components are necessary. The arrangement of elements within the frame is referred to as composition, the use and combination of colors are referred to as color, and the subject matter and message being expressed by the image is referred to as content. These three Cs can help you improve your photography and produce more powerful and lasting images.
To be a successful photographer, you need a range of skills beyond just the technical aspects of using a camera. These skills include:
- Creativity
- A strong eye for composition
- Technical skills to handle gadgets
- Marketing and business skills
- The ability to problem-solve and adapt to changing situations.
These skills will help you to create and market your work effectively, build strong relationships with clients, and handle the various challenges that come with a career in photography.
As a photographer, here are some common don’ts in photography.
- Don’t ignore the basics: it’s important to understand the fundamentals of photography such as exposure, composition, and lighting.
- Don’t over-edit your photos: while post-processing can enhance your images, over-editing can lead to unnatural and unrealistic results.
- Don’t be afraid to experiment: trying new techniques and styles can help you grow as a photographer.
- Don’t forget about your equipment: keeping your camera and lenses clean and well-maintained is essential to producing high-quality images.
- Don’t be disrespectful or invasive: be mindful of people’s privacy and boundaries, especially when taking photos in public spaces or of strangers.
The hardest part of being a photographer can vary depending on the individual and their specific niche within photography. However, some common challenges that photographers face include:
- Building a successful business: it can be challenging to market and sell your work, build a client base, and navigate the business side of photography.
- Dealing with rejection: rejection is a common occurrence in photography, whether it’s from clients or in the form of negative feedback on your work.
- Maintaining a creative edge: it can be difficult to constantly come up with fresh and unique ideas, especially in highly saturated markets.
- Managing equipment and logistics: photography can involve a lot of gear and travel, which can be both expensive and time-consuming to manage.
- Dealing with technical issues: from camera malfunctions to issues with the software, technical difficulties can be frustrating and time-consuming to troubleshoot.
Whether you’re just a beginner photographer or looking to take your photography to the next level, there’s always room to learn and grow as a photographer. So, take the time to practice and experiment, continue to build your skills and knowledge, and most importantly, have fun with it! If you have any questions or want to share your own tips and experiences, feel free to leave a comment below. Happy shooting!
You can also check for our other article on: